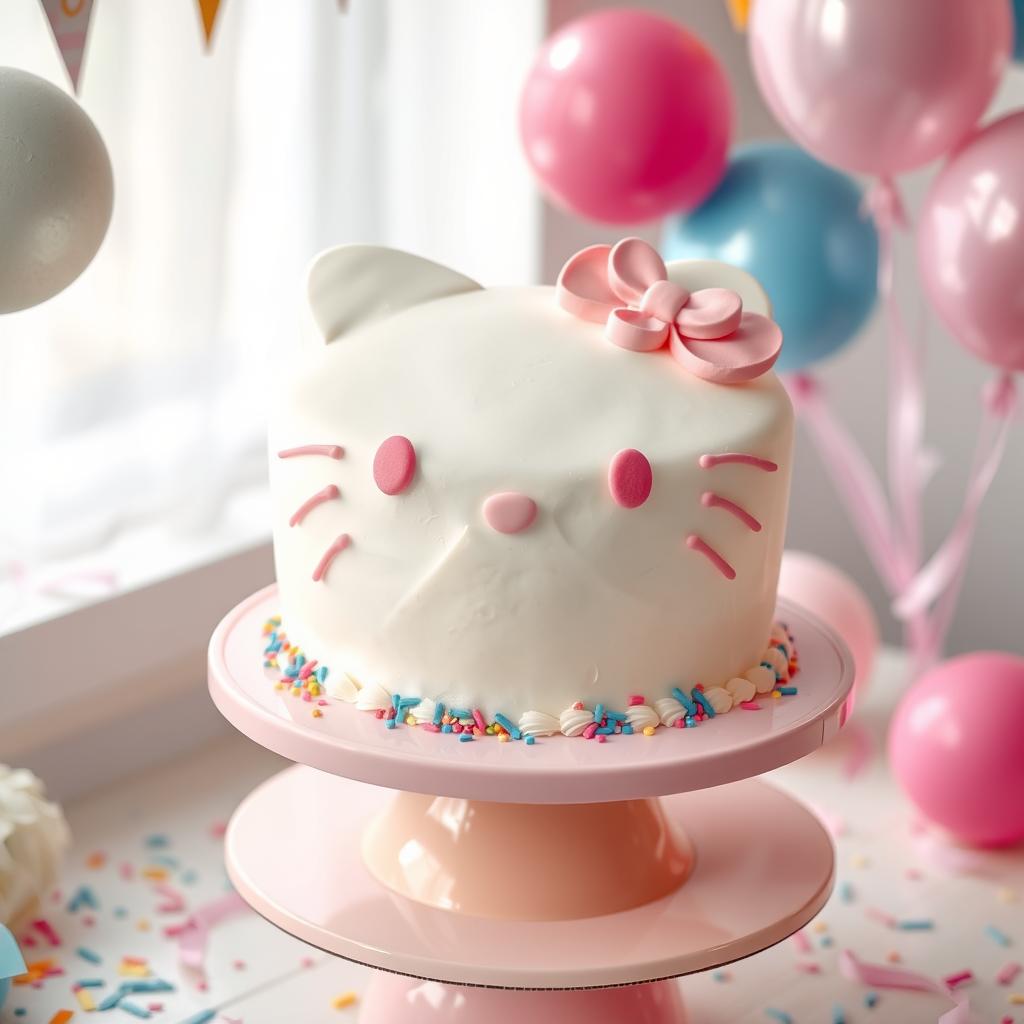
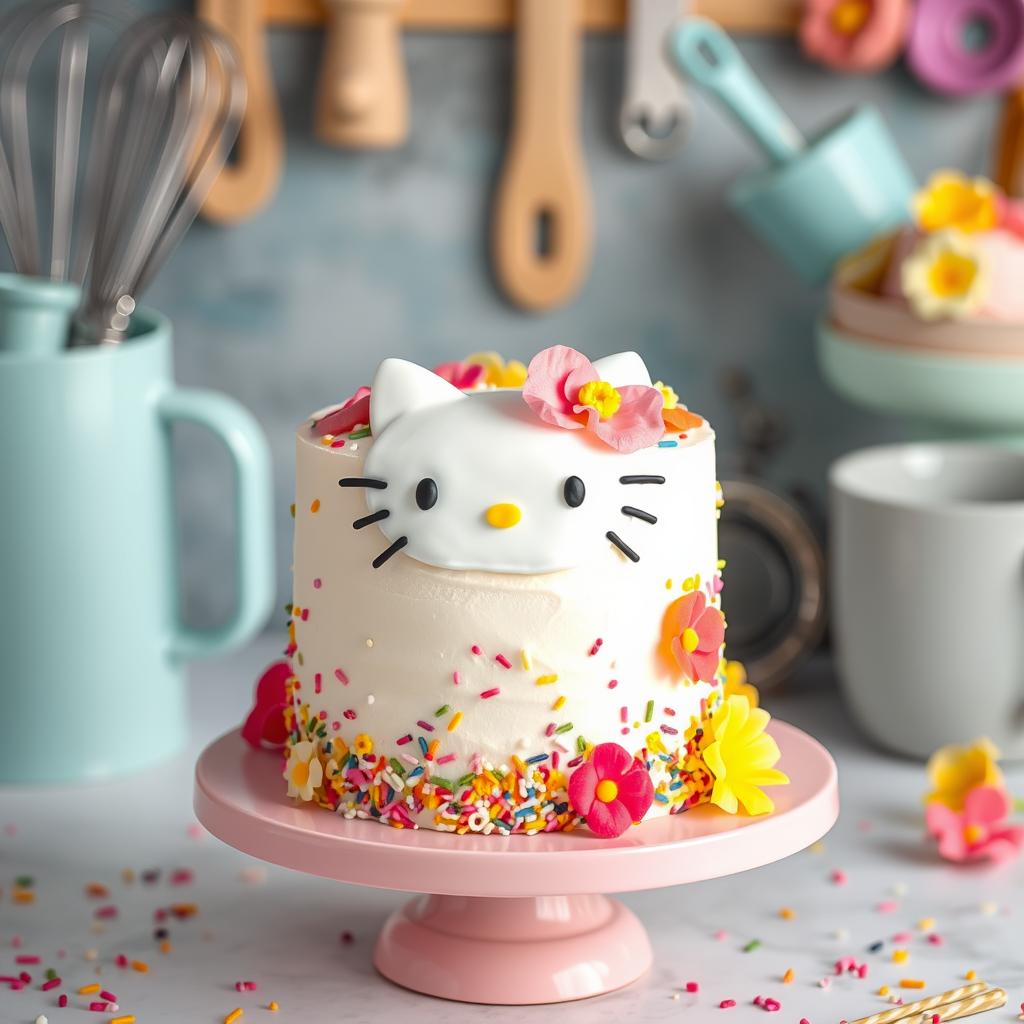
Birthdays are special, and a Hello Kitty cake makes them even more memorable. This beloved character is loved by kids and adults. Making a Hello Kitty cake is a fun and rewarding experience.
It’s a chance to bring this iconic character to life in your kitchen. Your guests will be amazed by your creation. This guide will show you how to make a stunning Hello Kitty cake at home.
We’ll cover everything from the tools and ingredients you need to the frosting and fondant techniques. You’ll learn how to make a cake that will impress everyone. So, let’s start and make a birthday cake that will be the highlight of the party.

Key Takeaways
- Discover the essential tools and ingredients needed to make a professional-grade Hello Kitty cake
- Learn the techniques for creating a moist and flavorful cake base that serves as the foundation for your design
- Explore the art of frosting and fondant to achieve the signature Hello Kitty look
- Gain insights into the step-by-step process of crafting the iconic Hello Kitty face, including the bow and facial features
- Uncover tips and tricks for troubleshooting common character cake challenges and ensuring a picture-perfect finish
Understanding the Hello Kitty Cake Essentials
Making a Hello Kitty cake at home needs some basic tools and ingredients. It’s fun and rewarding, whether you’re an expert or just starting. Let’s explore what you need to make a kids cake and baked treat inspired by Sanrio.
Basic Tools and Equipment Needed
- Cake pans in the desired shape (typically round or heart-shaped)
- Piping bags and various piping tips for decorating
- Fondant tools, including a rolling pin and cutters
- Offset spatula for smoothing frosting
- Food coloring gels or pastes to achieve the signature Sanrio hues
- Turntable or lazy Susan for easy cake rotation
Key Ingredients for Your Cake
Choose from many recipes for the cake, like vanilla, chocolate, or gluten-free. Use buttercream or cream cheese frosting for a smooth base. Fondant is key for Hello Kitty’s features. Remember to have food-safe markers or edible pens for the final touches.
Time and Skill Level Requirements
Making a Hello Kitty cake can take 2 to 8 hours, depending on your skill and detail level. Beginners might need more time, while experienced bakers can finish faster. Plan to spend a big part of your day on this project.

| Tool | Purpose |
|---|---|
| Cake Pans | Shaping the cake base |
| Piping Bags | Decorating with frosting and fondant |
| Fondant Tools | Crafting the character details |
| Offset Spatula | Smoothing the frosting |
| Food Coloring | Achieving the iconic Sanrio colors |
| Turntable | Rotating the cake for even decoration |
Preparing the Perfect Cake Base for a Hello Kitty-Themed Dessert
Baking the ideal cake base is key to a stunning Hello Kitty dessert. It’s essential for any birthday treat or whimsical baked delight. We’ll show you a reliable recipe and techniques to make your cake base ready for decorating.
Start with a classic vanilla cake recipe. You’ll need flour, sugar, baking powder, salt, butter, eggs, milk, and vanilla extract. Mix the dry ingredients first. Then, cream the butter and sugar until it’s light and fluffy.
Next, gently fold in the eggs and milk without overmixing. Pour the batter into your pans and bake until a toothpick comes out clean.
After the cakes cool, level the tops with a serrated knife. This makes your Hello Kitty design even. For extra moisture, brush the layers with simple syrup before assembling.
Feel free to try different flavors like chocolate or red velvet. These can also be great bases for your Hello Kitty baked treat. Make sure to bake the layers ahead of time. This allows them to cool and prepare for decorating.

“The perfect cake base is the foundation for a show-stopping Hello Kitty creation.”
Creating the Ideal Sanrio-Inspired Frosting
Frosting is key for a perfect Sanrio-inspired character cake. The right frosting captures the iconic look of Sanrio characters. It also makes sure your cake is smooth and ready for decorating. Let’s look at what makes the ideal frosting for your themed cake.
Choosing the Right Frosting Type
The frosting you pick is very important for your Sanrio character cake. You want a frosting that’s stable, easy to work with, and holds its shape well. Here are some good options:
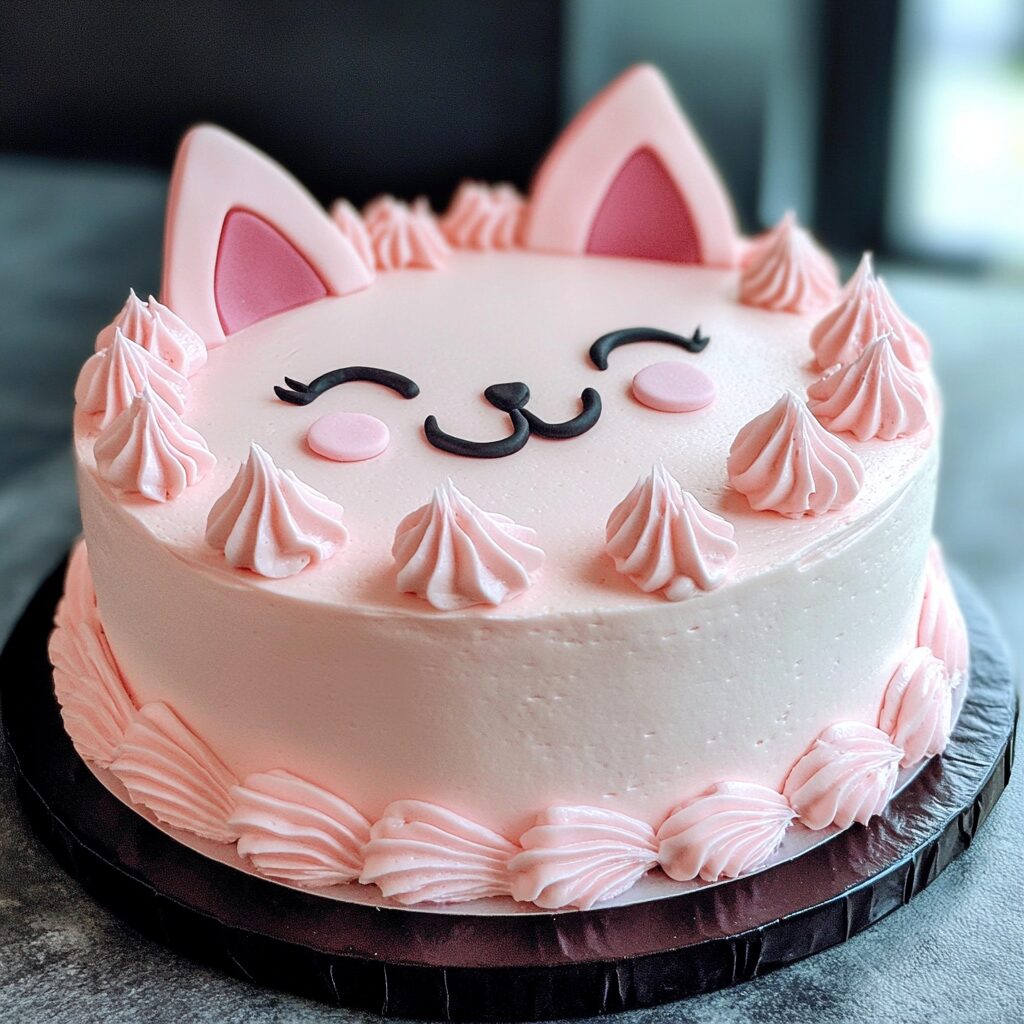
- Buttercream frosting: It’s creamy, versatile, and great for detailed decorations.
- Cream cheese frosting: It has a rich flavor and a smooth texture, perfect for Sanrio cakes.
- Swiss meringue buttercream: It’s silky, stable, and ideal for detailed work and bright colors.
Coloring Techniques for Hello Kitty’s Signature Look
To get Hello Kitty’s iconic colors right, you need to use high-quality food coloring or gel pastes. Start by adding and blending colors until you get the right shade. Make sure to use the Sanrio character’s colors in your cake design.
Frosting Consistency Tips
The frosting’s consistency is crucial for a great character cake. You want it smooth and spreadable, but not too thin or too thick. This makes it easy to cover the cake evenly and decorate it with details. To adjust the consistency, add powdered sugar for a thicker frosting or milk or cream for a softer one.
By choosing the right frosting type, coloring, and consistency, you can make a great Sanrio-inspired character cake. With the right frosting, you’ll bring your favorite Sanrio characters to life in a delicious and beautiful way.
Working with Fondant for Character Details
Learning to work with fondant is key to making a beautiful fondant cake with your favorite cartoon cake characters. Fondant is a soft, smooth icing that lets you create detailed designs. It’s perfect for bringing your Hello Kitty cake to life.
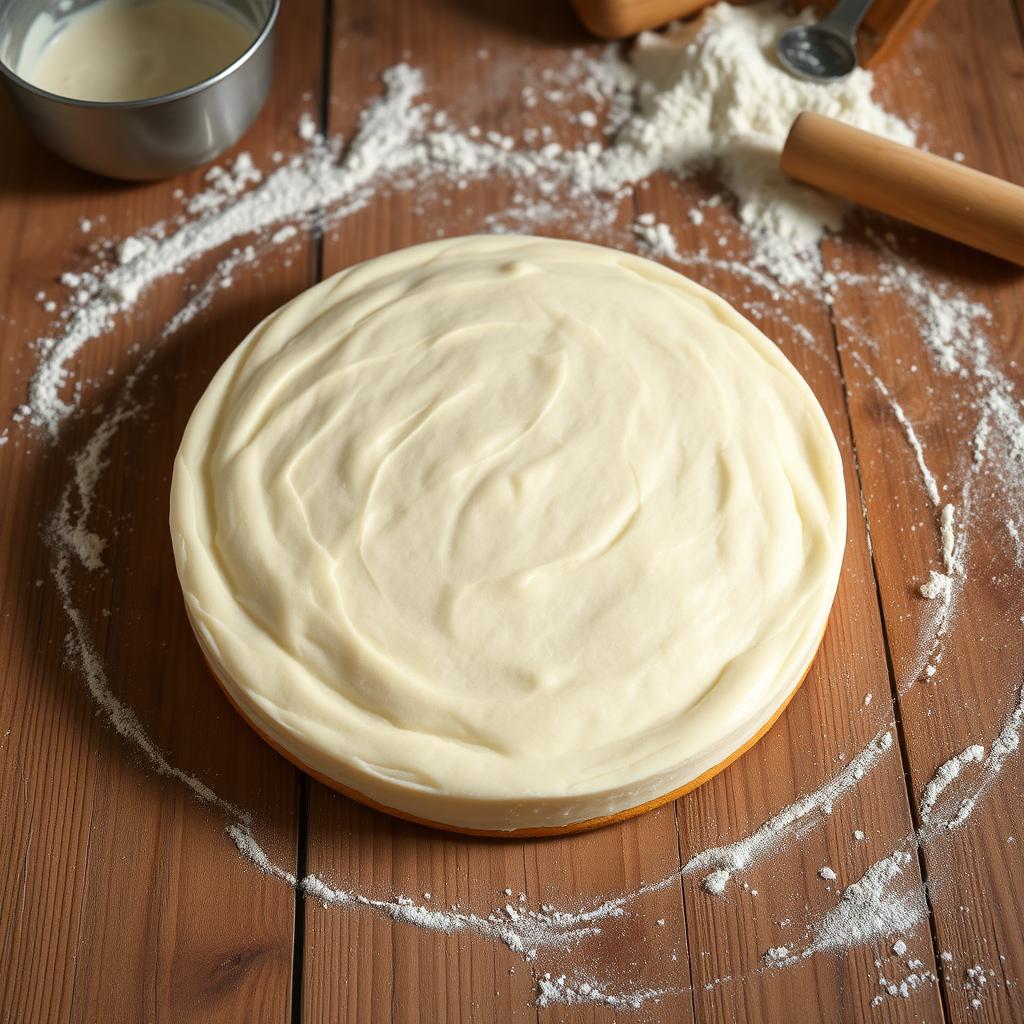
First, roll out the fondant evenly so it’s smooth. Then, use cookie cutters or a sharp knife to cut out Hello Kitty’s bow, whiskers, and face. Attach these fondant pieces to the cake with a little water or edible glue.
- Roll out fondant to the desired thickness for your design.
- Use cookie cutters or a knife to cut out Hello Kitty’s features.
- Attach the fondant pieces to the cake using water or edible glue.
To add texture, gently press and shape the fondant with tools like toothpicks or veining tools. This helps create the details that make Hello Kitty’s face so well-known. Working with fondant needs patience and a gentle touch for the best results.
| Fondant Cake Tip | Benefit |
|---|---|
| Use a fondant smoother to achieve a seamless finish | Ensures a clean, professional-looking surface |
| Chill the fondant-covered cake before decorating | Helps the fondant hold its shape and prevents sagging |
| Dust work surfaces with cornstarch or powdered sugar | Prevents the fondant from sticking and makes it easier to work with |
With patience, attention to detail, and the right techniques, you can turn a simple cake into a delightful fondant cake with your favorite cartoon cake character. Enjoy the process and have fun making Hello Kitty come to life with fondant.
Step-by-Step Hello Kitty Cake Design Guide
Making a perfect Hello Kitty cake needs focus and a good eye for details. Follow a step-by-step guide to get the iconic look right. This way, you’ll make a stunning cake for any party.
Face Structure Guidelines
Start with the right face shape for your Hello Kitty cake. Aim for balance and symmetry. Shape the head into a rounded form, making sure it’s wider than it is tall.
Place the eyes a bit above the middle, and the nose right in the middle. This will help you get the look just right.
Adding Facial Features
- Eyes: Make the eyes with black fondant, shaping them like almonds and tilting them up a bit.
- Whiskers: Use white fondant strips for the whiskers, angling them from the nose.
- Nose: Create a small, pink fondant nose, placing it just below the eyes.
Creating the Iconic Bow
The red bow is key to a Hello Kitty cake. Roll out red fondant thinly and cut it into a big circle. Fold it in half to make the bow’s center, then pinch the sides for the loop shape.
By following these steps, you’ll make a hello kitty cake that’s both precise and stylish. It will truly capture the spirit of this beloved character cake.
Essential Decorating Techniques for Themed Cakes
Making a themed cake, like a cartoon cake, is more than baking. You need to know how to decorate it well. We’ll look at key decorating methods to make your Hello Kitty cake stand out.
Piping Prowess
Piping is great for adding details and textures to your themed cake. It can turn a simple cake into a masterpiece. Learn to pipe clean lines, smooth curves, and precise details.
Stenciling Savvy
Stencils make it easy to get sharp, detailed designs on your themed cake. They’re perfect for adding patterns or Hello Kitty’s face. Try different stencils and methods to find your favorite look.
Texturizing Tricks
Adding texture makes your themed cake look more interesting. You can use ruffling, pleating, or stamping to add depth. Find the right tools and methods to match your design.
Incorporating Sanrio Characters
While Hello Kitty is the main focus, adding other Sanrio characters can make your cake even better. Use fondant or gum paste to make figures of Kitty’s friends. Place them around the cake for a fun Sanrio scene.
With these decorating skills, you’ll make a themed cake that’s not just beautiful but also captures Hello Kitty’s playful spirit.
Troubleshooting Common Character Cake Challenges
Making a fondant-covered cake with a favorite character like Hello Kitty is fun. But, it can also have its challenges. Don’t worry, with the right tips, you can fix these issues. This way, your kids cake will be perfect and make your little one happy.
Fixing Fondant Issues
Fondant can be tricky, but it’s not a problem. If you see tears, bulges, or color changes, there are simple fixes. First, knead the fondant to fix any issues. For tears, use a bit of water or edible glue to fix it.
But remember, a little bit is enough. Too much can cause more problems.
Temperature Control Tips
The temperature and humidity where you work can affect your cake. To keep your fondant cake looking great, work in a cool, dry place. If the fondant gets sticky or soft, put it in the fridge for a few minutes.
If it’s too hard, warm it up with your hands or a heat lamp. This makes it easier to work with.
Quick Repair Solutions
- Cracks or chips in fondant? Fix them with a bit of edible glue or water.
- Facial features not right? Shape them with your fingers or a fondant tool.
- Bumps or lumps? Use a fondant smoother or the back of a spoon to smooth them out.
With these tips, you can handle any kids cake problems. Your Hello Kitty cake will be perfect.
Adding Special Birthday Cake Touches
Turning a birthday cake into a special celebratory dessert is fun. When making a Hello Kitty cake, add personal touches that make it unique for the birthday person.
One great idea is to put the birthday person’s name on the cake. You could use their initials or age. You can also write “Happy Birthday!” or a special message with fondant or icing.
For a playful twist, add cute candles or figurines that fit the Hello Kitty theme. Candles shaped like Hello Kitty or her bow are fun. Or, use small Hello Kitty figures or toppers as a final touch.
By mixing Hello Kitty with personal touches, you make a birthday cake that’s both beautiful and meaningful. These special details turn a simple celebratory dessert into a memorable keepsake.
Storage and Transportation Tips
Keeping your baked treat fresh is key, whether for later or a celebratory dessert event. These tips will help your Hello Kitty cake stay perfect. They cover texture and safe travel.
Maintaining Freshness
To keep your Hello Kitty cake fresh, follow these steps:
- Store the cake in an airtight container or wrap it tightly with plastic wrap to prevent drying.
- If the cake is frosted, keep it refrigerated to maintain the creamy texture of the frosting.
- For fondant-covered cakes, store them at room temperature to avoid cracking or melting.
Safe Transportation Methods
When moving your Hello Kitty cake, take these steps to ensure it arrives safely:
- Use a sturdy, level cake carrier or box to support the cake’s structure during transit.
- Avoid placing the cake in direct sunlight or near heat sources, which can cause the frosting or fondant to melt.
- If possible, transport the cake in an air-conditioned vehicle to maintain the ideal temperature.
- Secure the cake in place to prevent it from shifting or toppling during the journey.
By using these storage and transport tips, you can enjoy your baked treat or show it off at a celebratory dessert event with confidence.
Professional Tips for a Picture-Perfect Finish
Making a stunning character cake or themed cake is more than baking and decorating. To get a pro look, follow these expert tips. They will boost your cake-making skills.
Achieve Smooth Frosting
Getting your frosting smooth is key for a polished cake. Use a turntable and a straight-edged spatula to spread and smooth the frosting. Work in small parts. Chill the frosted cake before adding details for a perfect finish.
Define Sharp Edges
Crisp edges on your character cake or themed cake are crucial. Trim the cake layers and sides with a sharp knife or angled spatula. This creates sharp borders. Dust the edges with powdered sugar or use a fondant smoother for a refined look.
Capture the Perfect Shot
Photographing your cake is the last step to a pro-level character cake or themed cake. Place the cake on a simple background. Use natural light or a softbox for the best photos. Try different angles and close-ups to show off your design’s details.
| Tip | Description |
|---|---|
| Smooth Frosting | Use a turntable and icing spatula for an even, silky finish. |
| Sharp Edges | Trim and dust the cake edges for a clean, defined look. |
| Photography | Use natural lighting and experiment with angles for the best shots. |
By using these pro tips, you’ll make a character cake or themed cake that looks like it’s from a bakery. Focus on the details, and your cake will have a flawless finish.
Conclusion
Making a hello kitty cake for a special day is very rewarding. You can make a Sanrio-inspired cake that will be the star of any birthday cake party. It’s all about mastering the basics and using the right tools.
In this guide, you’ve learned how to make a great cake base and frosting. You also know how to use fondant for Hello Kitty’s iconic look. With a bit of patience and practice, you can follow the design steps and decorating tips to make your cake come alive.
The fun of making a hello kitty cake is in the journey, not just the end result. Take on the challenge, let your creativity flow, and enjoy the pride of giving a unique and special treat. It will surely make your celebration unforgettable and bring joy to your guests.
Explore Related Recipes
If you enjoyed learning how to make a Hello Kitty cake, you’ll love these related recipes. From themed desserts to creative classics, these recipes are perfect for your next baking adventure.
The Ultimate Guide to Milk Bar Pumpkin Pie
This professional-level recipe combines creativity and indulgence. Perfect for fall gatherings or any time you crave a rich, flavorful dessert.
Easy Homemade Cheesecake Cookie Recipe for Bakers
For cookie lovers, this recipe offers a delightful mix of creamy cheesecake and classic cookies. Easy to make and perfect for parties!
White Chocolate Cake: Gluten-Free Recipe
Enjoy a rich, gluten-free dessert that’s as delicious as it is beautiful. This white chocolate cake is a fantastic choice for those with dietary restrictions.
Delicious Gluten-Free Crab Cake Recipes You’ll Love
For something savory, these gluten-free crab cakes are a must-try. They’re light, flavorful, and perfect for any meal.
Easy Puff Pastry Dessert Recipes for Any Occasion
Discover the versatility of puff pastry with these quick and easy dessert recipes. Perfect for adding a touch of elegance to any event.
These recipes not only expand your baking skills but also provide inspiration for creating memorable treats for every occasion. Explore them and turn your kitchen into a hub of culinary creativity!
FAQ
What are the essential tools and equipment needed to make a Hello Kitty cake?
You’ll need cake pans, piping bags, and fondant tools. Food coloring and a turntable are also important. Don’t forget basic baking supplies like measuring cups and spoons, mixing bowls, and a spatula.
What are the key ingredients for a Hello Kitty cake?
You’ll need cake batter and frosting or fondant for decorating. The batter can be any flavor you like. For frosting, you can use buttercream, cream cheese frosting, or fondant.
How much time and skill is required to make a Hello Kitty cake?
Making a Hello Kitty cake can take a few hours to a whole day. It’s not too hard, though. With practice and patience, you can do it. Pay close attention to every detail.
What are some tips for creating the perfect Hello Kitty cake base?
Start with a moist vanilla or white cake recipe. Mix well, bake correctly, and cool thoroughly. You can also try different flavors to find your favorite.
How do I achieve the ideal frosting for a Hello Kitty cake?
Choose the right frosting type, color, and consistency. Buttercream or cream cheese frosting are good choices. Use gel food coloring for Hello Kitty’s pink color. Make sure the frosting is smooth for easy decorating.
What are the best techniques for using fondant on a Hello Kitty cake?
Fondant is great for Hello Kitty’s face, bow, and whiskers. Learn to roll, cut, and shape it for clean lines. Attach the fondant decorations carefully for a professional look.
How do I create the perfect Hello Kitty face on the cake?
Use guidelines for Hello Kitty’s features like eyes, nose, and whiskers. Piping and fondant can help you get crisp details. This will make the character look authentic.
What are some common challenges when making a Hello Kitty cake, and how can I troubleshoot them?
Issues like fondant cracking or frosting problems can happen. Keep the cake and frosting at the right temperature. Have solutions ready for any last-minute problems.
How can I personalize a Hello Kitty cake for a birthday celebration?
Add the celebrant’s name, age, or message to the design. Use birthday-themed elements like candles and cake toppers. You can also add other Sanrio characters.
What are the best practices for storing and transporting a finished Hello Kitty cake?
Store the cake in an airtight container or cover it with a cake dome. Use sturdy packaging for transport. Keep the fondant decorations safe from damage.


1 thought on “Make a Perfect Hello Kitty Cake at Home”