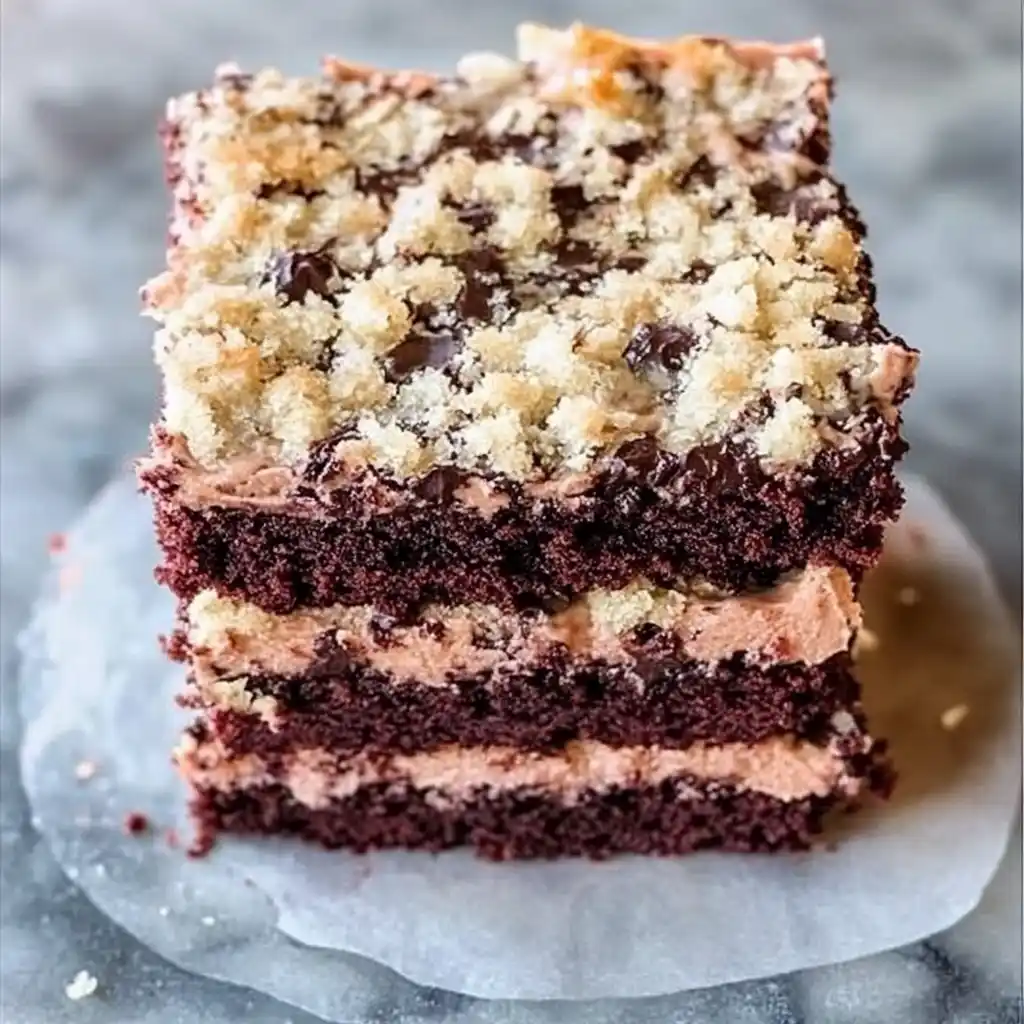
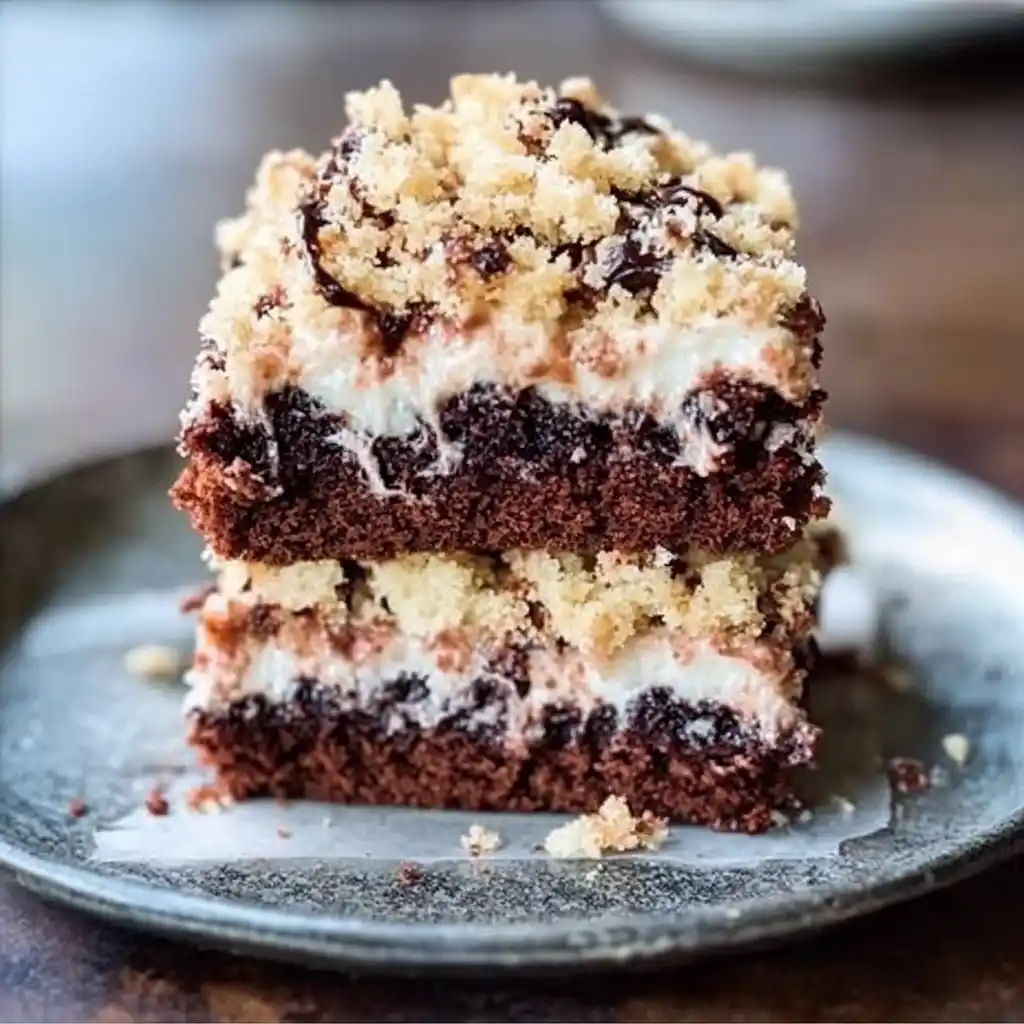
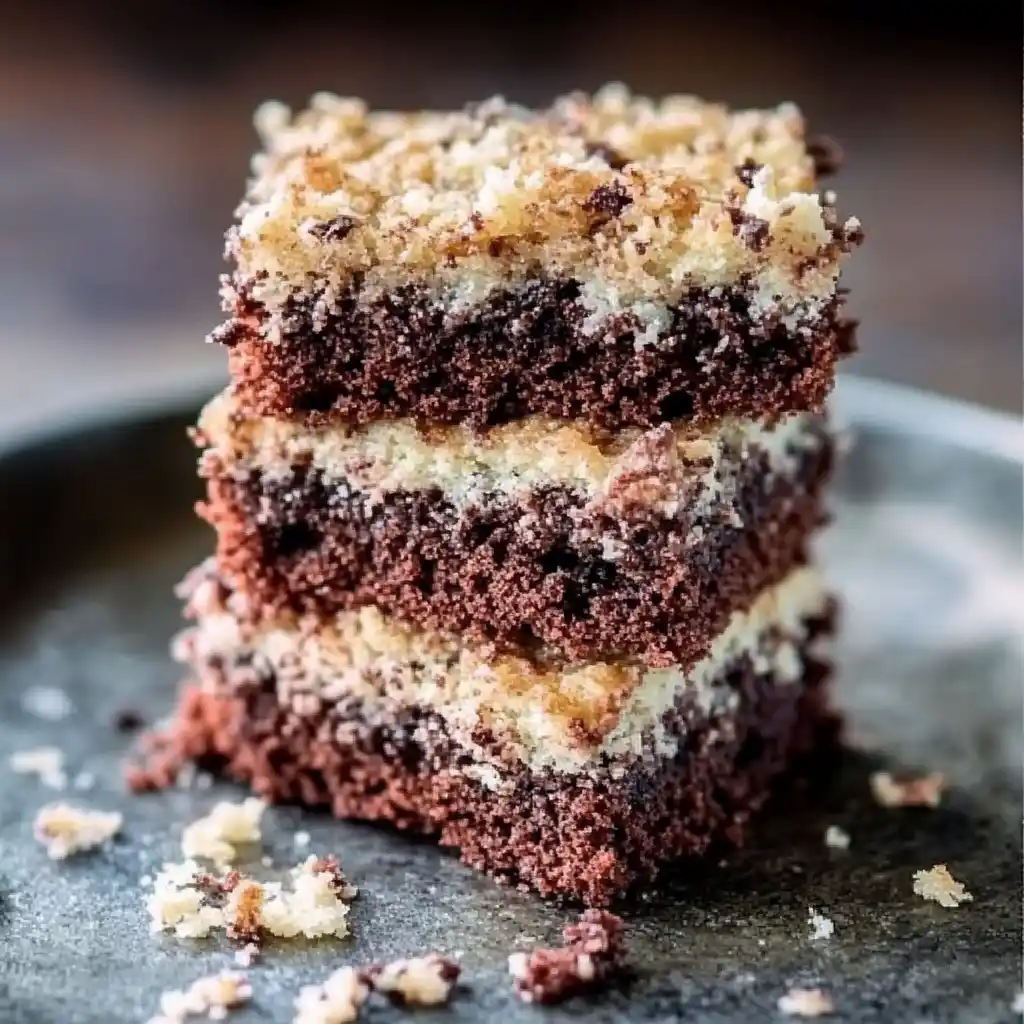
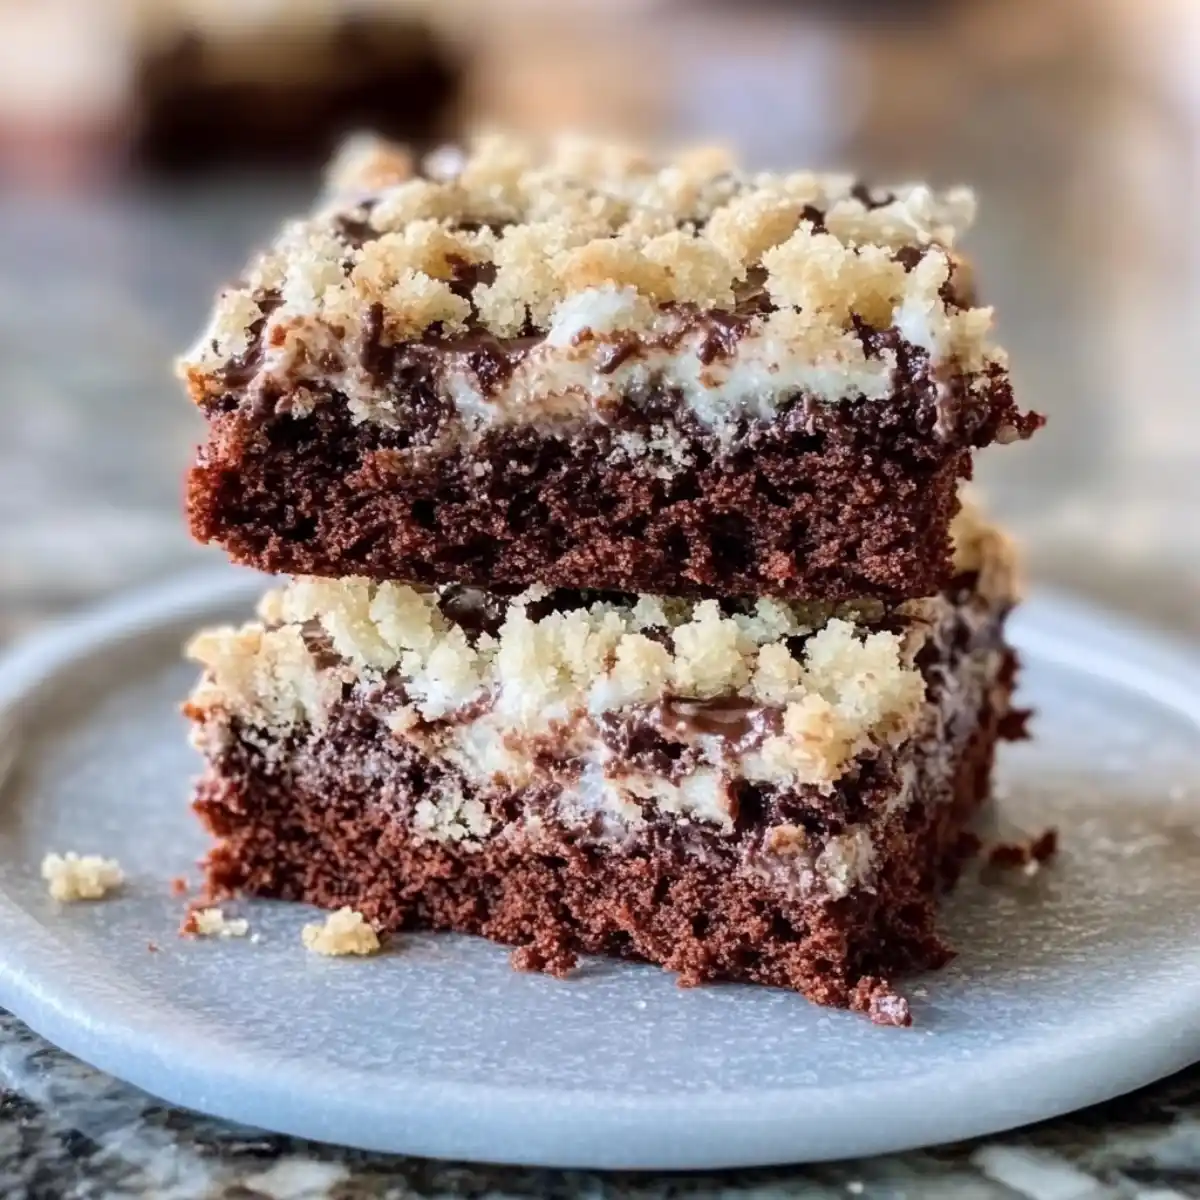
Growing up, watching my grandmother make her famous magic cookie bars was magical. The kitchen filled with sweet chocolate, toasted coconut, and a buttery graham cracker crust. These 7 layer bars were more than dessert; they were a family tradition that brought us together.

These dessert bars are a journey back to comfort food. They mix different textures and flavors in one amazing bite. Whether you’re new to baking or experienced, 7 layer bars are easy and delicious to make.
Table of Contents
Imagine a dessert that’s easy to make but tastes amazing. Magic cookie bars are just that. They layer graham cracker crumbs, sweet condensed milk, chocolate chips, nuts, and more into a treat everyone will enjoy.
Key Takeaways
- 7 layer bars are incredibly simple to prepare
- No advanced baking skills required
- Perfect for family gatherings and potlucks
- Customizable with different toppings and mix-ins
- Can be made ahead of time and stored easily
Explore Related Recipes and Tips
If you loved diving into the world of 7 layer bars, there’s more inspiration waiting for you! Here are some exciting related recipes and kitchen tips to keep the baking joy alive:
1. Perfect Coconut Cream Meringue Pie
Coconut lovers, this one’s for you! Experience a tropical twist with this indulgent pie, packed with creamy meringue and a flaky crust.
2. Nestle Toll House Cookies
Master the iconic cookie recipe that has been loved for generations. Pair it with your favorite beverages for a timeless treat.
3. Peanut Butter Blossom Bars
Craving more bar-style desserts? These holiday classics combine peanut butter and chocolate for an irresistible flavor combo.
4. Homemade Cheesecake Cookie Recipe
Learn how to create decadent cheesecake cookies that melt in your mouth. Perfect for impressing guests or enjoying solo.
5. Boston Cream Cake
Dive into the rich, creamy layers of this classic dessert. A must-try for any dessert enthusiast!
What Makes 7 Layer Bars So Special
Seven layer cookies have won the hearts of many across America. They are a simple yet flavorful treat. These bars are more than just a snack; they’re a tradition that brings people together.

The Delicious Origins of Magic Cookie Bars
The story of seven layer cookies started in the mid-1900s. Home bakers then used pantry staples to create these amazing bars. They turned simple ingredients into something truly special.
“A great cookie is like a delicious memory you can taste” – Unknown Baker
- Originated in mid-1900s American kitchens
- Developed as a creative way to use leftover ingredients
- Quickly became a potluck and family gathering favorite
Why These Bars Became a Crowd Pleaser
Seven layer cookies stand out because they’re versatile and easy to make. You can mix and match sweet and salty ingredients. This makes them a hit with everyone.
| Characteristic | Appeal |
|---|---|
| Layered Texture | Multiple flavor experiences in one bite |
| Simple Preparation | No advanced baking skills required |
| Ingredient Flexibility | Easy to adapt to personal preferences |
Whether you’re new to baking or experienced, seven layer cookies are a treat. They offer a mix of nostalgia and innovation.
Essential Ingredients for Perfect Layer Bars
Making delicious condensed milk bars begins with knowing the key ingredients. Your graham cracker crust is the base that makes these treats irresistible.

- Graham cracker crust (the base of all flavor)
- Sweetened condensed milk
- Chocolate chips
- Butterscotch chips
- Shredded coconut
- Chopped nuts
- Optional: Vanilla extract for enhanced flavor
Choosing quality ingredients is important for your condensed milk bars. Each part is key to the perfect taste and texture.
| Ingredient | Purpose | Recommended Type |
|---|---|---|
| Graham crackers | Crust foundation | Name-brand, honey or plain |
| Sweetened condensed milk | Binding agent | Full-fat, name-brand |
| Chocolate chips | Flavor depth | Semi-sweet or milk chocolate |
| Butterscotch chips | Sweet complexity | Premium baking chips |
“The secret to amazing layer bars is using fresh, high-quality ingredients and layering them with love.” – Professional Baker
Pro tip: Always use room-temperature ingredients. This ensures even mixing and the best texture in your graham cracker crust and bars.
Creating the Perfect Graham Cracker Foundation
The foundation of any great 7 layer bar starts with a stellar graham cracker crust. Success depends on mastering a few key techniques. These techniques transform simple crackers into a delectable base that supports all the delicious layers to come.
Crushing Techniques for Optimal Texture
Achieving the right graham cracker crust texture requires precision. You’ll want to break down your graham crackers into consistent, fine crumbs. Here are three effective methods:
- Food processor: Fastest and most uniform method
- Rolling pin: Classic approach for controlled crushing
- Ziplock bag technique: Great for stress relief and uniform crumbs
Butter to Crumb Ratio Secrets
The perfect graham cracker crust balances crumb and butter carefully. Too little butter leads to dry, crumbly results. Too much creates a soggy base.
| Cracker Amount | Butter Quantity | Result |
|---|---|---|
| 1 cup crumbs | 4-5 tablespoons | Ideal Consistency |
| 1.5 cups crumbs | 6-7 tablespoons | Firm Foundation |
Pre-Baking the Base
Pre-baking your graham cracker crust creates a crisp, sturdy foundation. It resists moisture from condensed milk and other layers. Bake at 350°F for 8-10 minutes until edges turn golden brown.
“A perfectly prepared graham cracker crust can elevate your 7 layer bars from good to absolutely extraordinary!” – Baking Experts
Remember, practice makes perfect when creating your graham cracker crust. Each batch will help you refine your technique. This will develop a foolproof method for delicious layer bars.
Mastering the Layering Technique
Making perfect 7 layer bars is an art. It needs careful placement of ingredients and strategic layering. Your success depends on how each part works together when baked.
The secret to great 7 layer bars is the right order of ingredients. Start with a solid graham cracker crust. It gives a crisp base for the other layers.
“Layer by layer, you’ll transform simple ingredients into a decadent dessert masterpiece.”
- Begin with a buttery graham cracker base
- Distribute sweetened condensed milk evenly
- Add chocolate chips in a uniform layer
- Sprinkle nuts for texture and crunch
- Create visual interest with varied ingredients
Pro tip: When layering your 7 layer bars, make sure each ingredient covers the whole pan. This ensures every bite tastes the same.
Your layering technique should aim for even distribution. Use a spatula or the back of a spoon to spread ingredients. This prevents clumps and ensures each bar has balanced flavors.
Remember, the magic of this dessert is in the mix of textures and tastes. Each layer should enhance the others. This creates a sweet harmony in every bite.
The Art of Condensed Milk Distribution
Sweetened condensed milk is the secret to making ordinary bars into amazing treats. It adds sweetness and creates a gooey texture. This makes 7 layer bars irresistible.
Why Sweetened Condensed Milk is Essential
In the world of condensed milk bars, this ingredient is key. It binds the layers together and adds a creamy texture. Condensed milk is special because it:
- Creates a caramel-like texture when baked
- Provides structural support to the bar
- Adds deep, rich flavor
- Helps ingredients stick together
Proper Pouring Techniques
Mastering pouring condensed milk is all about precision. Start by pouring evenly over the graham cracker base. Use a spatula or spoon to spread it gently. This ensures a uniform layer in your baking pan.
“The key to perfect condensed milk bars is in the pour – slow and steady wins the race!”
Pro tip: Warm the condensed milk slightly before pouring. This makes it easier to spread. It’s a small step that can make a big difference in your bars.
Choosing Quality Toppings and Add-ins
Making delicious 7 layer bars begins with picking the best toppings. Your chocolate chip and coconut bars need top-notch ingredients. These will add lots of flavor and texture.
- Chocolate quality matters – choose premium chocolate chips
- Shredded coconut adds a nice texture and tropical sweetness
- Try different chip types for a mix of flavors
Choosing the right toppings can make your chocolate chip bars amazing. Go for:
- Dark chocolate chips
- Milk chocolate chunks
- Butterscotch chips
- Toasted nuts
“Great toppings turn good desserts into unforgettable experiences”
For coconut bars, aim for balanced layers. Toasted coconut flakes give a richer taste and crunch. Try both unsweetened and sweetened coconut to find your favorite mix.
Experts say to spread toppings evenly. This way, every bite of your chocolate chip and coconut bars will taste the same.
Tips for Baking and Setting Your Bars
Making perfect baked treats needs precision and care. Your 7 layer bars need special attention to be delicious and look great. Learning how to bake and set them can make your dessert amazing.
Temperature Control Essentials
Getting the right temperature is key for your treats. Different ovens can be very different. So, get an oven thermometer for accuracy. 7 layer bars usually bake best at 350°F (175°C). Look for these signs:
- Golden brown edges
- Slightly firm center
- Bubbling around the edges
“Baking is a science, and precision is your best friend in the kitchen.” – Professional Baker
Cooling and Setting Time Guidelines
Being patient is important when making these treats. Let your bars cool completely at room temperature after baking. This usually takes:
- Initial cooling: 30-45 minutes
- Refrigeration: 1-2 hours for the best setting
- Final cutting: When bars are cool and firm
Pro tip: Use a sharp knife and clean it between cuts for perfect squares!
Your 7 layer bars will have the perfect texture and stay together well. Just follow these careful baking and cooling steps.
Storage Solutions and Shelf Life
Keeping your homemade 7 layer bars fresh is key. These treats are delicate and need careful storage to keep their flavor and texture perfect.
How long you want to keep your bars will guide your storage choice. Here are top tips for keeping your 7 layer bars fresh:
- Room Temperature Storage: Best for short-term enjoyment
- Store in an airtight container
- Place parchment paper between layers
- Consume within 2-3 days
- Refrigeration: Extends freshness
- Wrap bars individually in plastic wrap
- Place in sealed container
- Keeps up to 5-7 days
- Freezing: Long-term preservation
- Wrap tightly in plastic and aluminum foil
- Store in freezer-safe container
- Maintains quality for up to 3 months
“Proper storage is the secret to maintaining the magic of your homemade 7 layer bars!” – Baking Experts
When you’re ready to enjoy your bars, let them come to room temperature. This way, they’ll taste and feel just as good as when you first baked them.
Common Mistakes to Avoid When Making Layer Bars
Making perfect magic cookie bars needs care and focus. Even skilled bakers face issues. Knowing common problems helps make bars that taste great and look good.
Troubleshooting Key Baking Challenges
Magic cookie bars can be tricky. But knowing common mistakes helps avoid disappointments. Here are key issues to watch for:
- Uneven graham cracker crust distribution
- Inconsistent condensed milk spread
- Burnt chocolate or coconut layers
- Soggy bottom crust
Recipe Adjustments for Different Pan Sizes
When baking magic cookie bars, you need to adjust ingredients for pan size. Here’s how:
- 8×8 inch pan: Standard recipe measurements work perfectly
- 9×13 inch pan: Increase ingredients by 1.5x
- Quarter sheet pan: Double the original recipe
“The secret to perfect magic cookie bars is understanding your baking equipment and making precise adjustments.” – Professional Baker’s Tip
By focusing on these details, you’ll make magic cookie bars that are always tasty and beautiful. Remember, practice makes perfect!
Variations and Creative Twists
Make your no-bake bars and seven layer cookies even better with new flavors. Try different ingredients to give the classic dessert a fresh twist. This keeps the dessert’s core appeal while adding something new.
- Seasonal Adaptations
- Pumpkin spice for fall
- Peppermint chocolate for winter
- Tropical coconut for summer
- Dietary Alternative No-Bake Bars
- Gluten-free graham cracker substitute
- Vegan condensed milk replacement
- Keto-friendly nut-based layers
Your no-bake bars can be a blank canvas for creativity. Think about swapping traditional chocolate chips for something unique like:
| Classic Ingredient | Creative Replacement |
|---|---|
| Milk Chocolate Chips | Matcha White Chocolate |
| Regular Nuts | Candied Pecans |
| Standard Coconut | Toasted Coconut Flakes |
“The beauty of seven layer cookies is their incredible adaptability. Don’t be afraid to experiment!” – Professional Pastry Chef
Remember, the key to amazing seven layer cookies is quality ingredients and a sense of adventure. Whether it’s for a summer picnic or a winter party, these new twists will make your dessert a hit.
Conclusion
Making the perfect homemade dessert bars is an art. It mixes simple ingredients with creative techniques. Your 7 layer bars adventure is just starting. It’s about making each batch your own.
Choosing the right ingredients and mastering layering are key. You’ve learned how to make treats that wow family and friends.
7 layer bars are very versatile. Try different chocolate chips, nuts, and coconut to find your favorite. Add your own twist to this classic dessert. Each batch is a story, and your kitchen is a canvas for delicious creations.
Practice makes perfect with these dessert bars. Start with the basics and then add your own touch. Whether it’s for a special event or a weekend treat, 7 layer bars bring people together.
Your journey with 7 layer bars is just starting. Share your creations and enjoy every moment. Baking these treats brings joy to everyone who tastes them.
FAQ
What exactly are 7 layer bars?
7 layer bars, also known as magic cookie bars, are a classic dessert. They’re made by layering ingredients like graham cracker crust, condensed milk, and chocolate chips. You also add coconut and nuts. This mix creates a sweet, rich treat with many flavors and textures.
How long do 7 layer bars typically keep?
7 layer bars can last 3-5 days at room temperature if stored in an airtight container. They can last up to a week in the fridge. If you want to keep them longer, freeze them for up to 3 weeks. Just make sure to wrap them tightly to avoid freezer burn.
Can I make 7 layer bars without nuts?
Yes, you can make 7 layer bars without nuts. If you have allergies or just don’t like nuts, you can skip them. You can add more chocolate chips, dried fruit, or other toppings to keep the texture and flavor.
Are 7 layer bars difficult to make?
No, 7 layer bars are very easy to make. They don’t require much baking skill. You just layer the ingredients in a pan and bake. Most people can make these bars with just a few ingredients and simple steps.
Can I make a gluten-free version of 7 layer bars?
Yes, you can make gluten-free 7 layer bars. Use gluten-free graham crackers or bases like almond flour instead of regular graham crackers. Make sure all ingredients are gluten-free.
What are some creative variations of 7 layer bars?
You can try many variations. Use white chocolate chips, add caramel, or include dried cherries. Try different nuts or make seasonal versions with peppermint or pumpkin spice.
How can I prevent my bars from becoming too sticky?
To avoid stickiness, don’t use too much condensed milk. Let the bars cool completely before cutting. Use parchment paper in your pan. Chilling the bars in the fridge for 30 minutes before cutting helps too.


2 thoughts on “Easy 7 Layer Bars: The Perfect Homemade Dessert Bars”